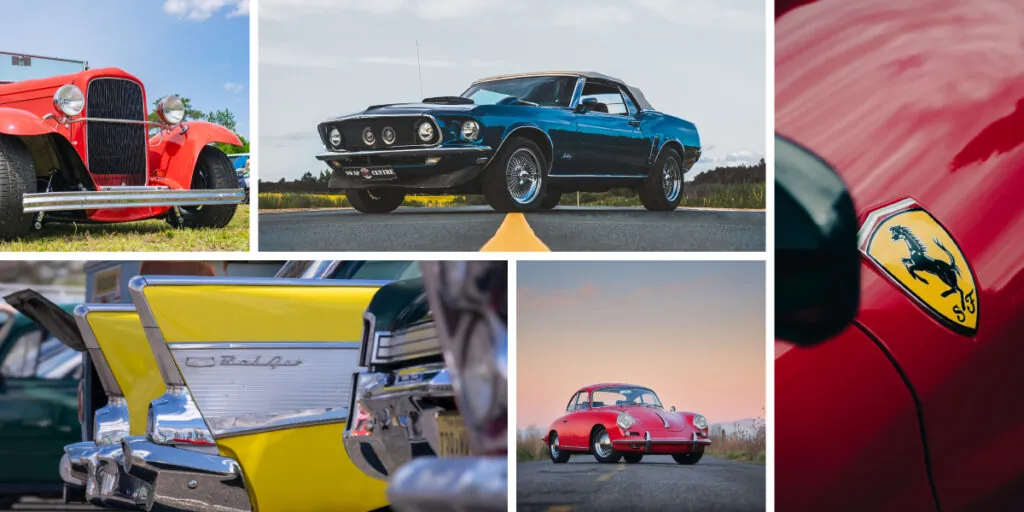
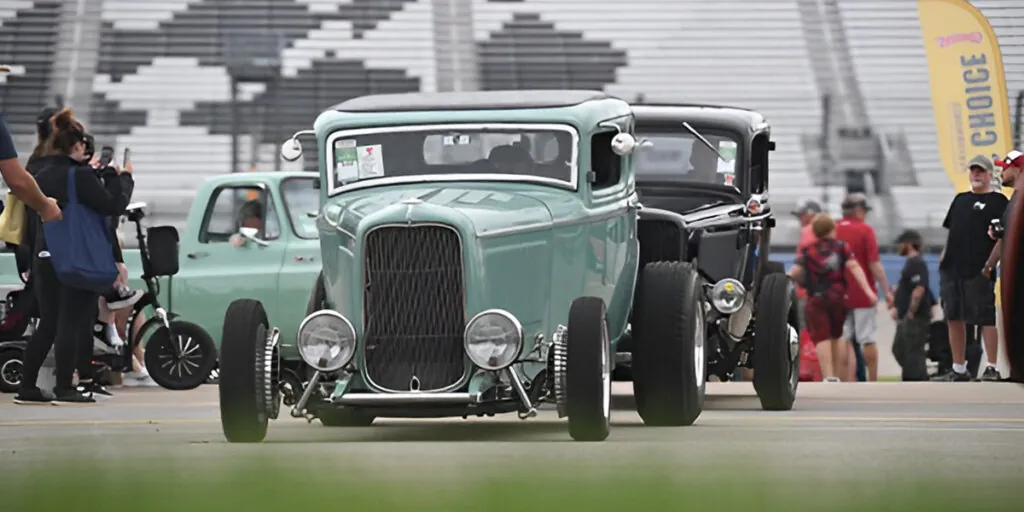
Restoring a classic car isn’t just a hobby, it’s a test of skill, patience, and pride. For many of us, it’s the ultimate garage project: part mechanical problem-solving, part craftsmanship, and part grit. And while there’s nothing like the payoff of driving a car you brought back to life, the road to restoration can be long, expensive, and full of surprises.
If you’re thinking about tackling a project of your own, here’s a step-by-step beginner’s guide to classic car restoration that balances realistic expectations with the thrill of the journey.
What Does “Restoration” Really Mean?
Before you pick up a wrench, it’s important to define your goal. In the restoration world, not all projects aim for the same finish line:
- Preservation / Basic Refresh – Keeping the car mostly original while preventing further deterioration. Clean it up, stabilize it, and get it running safely.
- Driver-Level Restoration – The sweet spot for beginners. A mechanically reliable, cosmetically solid car that you can confidently take on the road—even if it’s not perfect by concours standards.
- Concours Restoration – The gold standard. Every nut, bolt, and decal is period-correct. The car looks better than the day it left the factory. Rewarding? Yes. Realistic for a first-timer? Probably not.
For most weekend warriors, a driver-level restoration offers the best balance of cost, time, and satisfaction.

The Cost of Restoring a Classic Car
One of the first hard truths: restoring a car almost always costs more than expected. Even a simple “driver-level” project can run into thousands of dollars once you factor in tools, parts, and paint. A full concours build? Think tens of thousands—and years of time.
Pro tip: Before you tear anything apart, set a budget and timeline, then double both. You’ll thank yourself later.
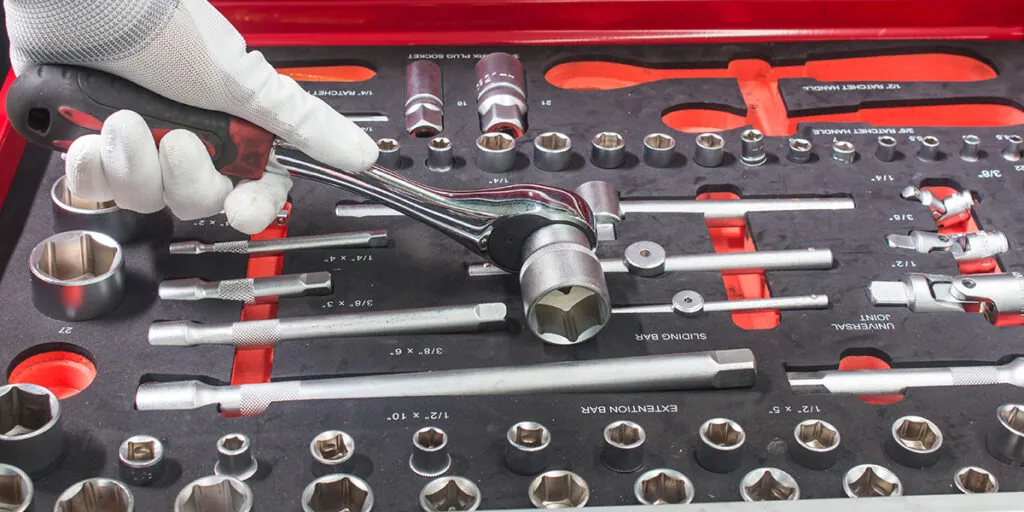
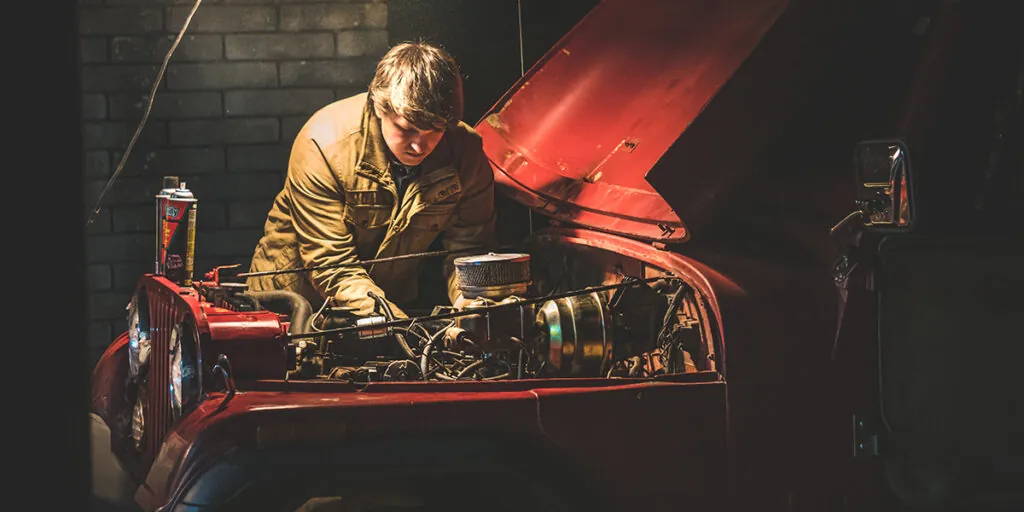
Essential Tools for Classic Car Restoration
Restoring a car without the right tools is like stepping onto the field without pads. You won’t get far. At minimum, you’ll need:
- Quality SAE and metric hand tools
- Torque wrench
- Jack and jack stands
- Impact driver
- Engine hoist (if drivetrain removal is planned)
- Factory service manual (don’t rely only on generic guides—specs matter)
And don’t forget space. A two-car garage is the bare minimum. Your project will sit immobile for months, sometimes years, and you’ll need room for both parts and tools.
A Smarter Game Plan: Systems-Based Restoration
One of the biggest rookie mistakes is stripping the entire car at once. That leads to chaos, lost parts, and burnout. A systems-based approach works better. Think of it like playing one quarter at a time:
- Brakes – Rebuild master cylinders, calipers, and hoses. A car that doesn’t stop isn’t worth restoring.
- Fuel System – Clean the tank, replace lines, rebuild carburetors or injectors.
- Ignition & Engine – Compression test, plugs, wires, timing, and ignition upgrades.
- Electrical – Inspect wiring harnesses; brittle insulation and corrosion are common.
- Cooling – New hoses, thermostat, flush radiator.
This method keeps progress steady—and motivation alive.

Rust: The Enemy in the Garage
Ask any veteran restorer what kills projects fastest, and the answer is the same: rust. What looks like surface corrosion on the rocker panels or floor pans often hides structural damage.
- Minor rust? Rust converter or fiberglass can buy time.
- Structural rust? It must be cut out and replaced with welded steel.
If you can learn basic MIG welding, you’ll save thousands. Otherwise, plan on farming this out—it’s one of those “don’t cut corners” areas.
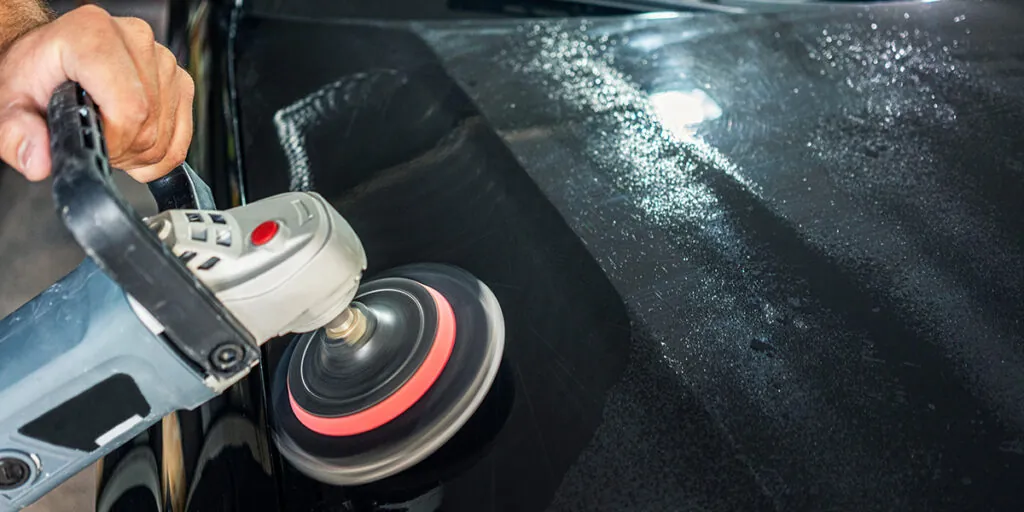
Body and Paint: Where Costs Climb
Bodywork and paint eat up a huge portion of any restoration budget. Professional jobs can be breathtaking—but also prohibitive.
- Want a driver-level finish? Explore budget options like single-stage paint.
- Want to DIY? Remember: 80% of the cost is in prep. Sanding, filling, panel alignment, and smoothing takes time, but it makes all the difference.
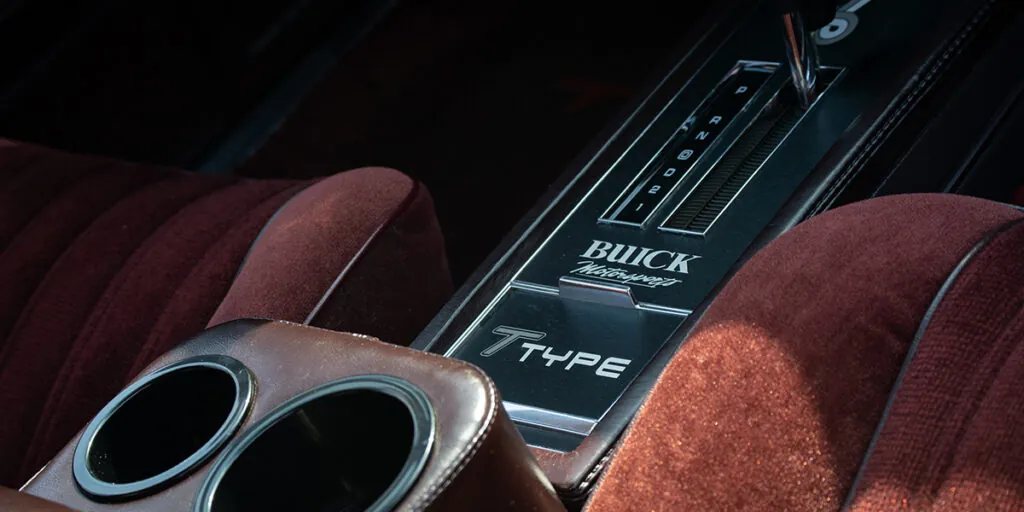
Interior Restoration: Clean First, Replace Second
The interior is where you (and your family) spend time, so it matters. But don’t rush to replace everything.
- Carpets – Try steam cleaning before replacing.
- Vinyl & trim – Conditioners can revive faded pieces.
- Seats & dash pads – Reproduction kits exist for common models, but they’re pricey. For rare cars, refurbishing what you have may be the only option.
Avoiding Common Restoration Mistakes
Every beginner makes mistakes—but you can dodge the biggest ones:
- Don’t disassemble everything at once.
- Don’t skimp on storage or organization.
- Don’t underestimate costs (parts and time add up).
- Don’t ignore family balance—remember, this project will compete with weekends, vacations, and kids’ sports schedules.
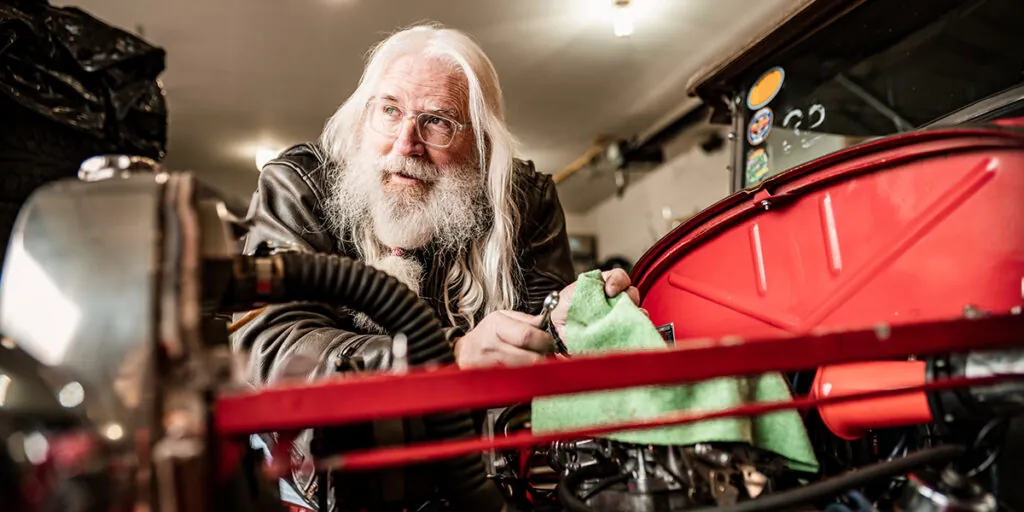
The First Drive: A Milestone Moment
The day you fire up your restored car and take it for a drive is unforgettable. But don’t expect perfection right away. Brakes need re-bleeding, carbs need tuning, and suspension bushings may settle. Keep a notepad handy and treat the first few drives like a shakedown test.
Classic Car Ownership: Built, Not Bought
A restored classic isn’t a “set it and forget it” vehicle. These cars need regular maintenance and inspections to keep them running right. Embrace it—it’s part of the lifestyle.
At the end of the project, you’ll have something no modern car can deliver: pride of ownership. Whether you tell people “built, not bought” or keep it to yourself, you’ll know the truth every time you turn the key.
Restoring a classic car is as much about the journey as the destination. Yes, it takes time, patience, and money. But if you approach it with a plan, realistic expectations, and a little sports-like discipline, the payoff is worth it every time you roll out of the garage.
So grab your tools, clear some space in the garage, and start your own classic car restoration story.